Tuesday, March 25, 2014

Kitties!!!

   I painted one of my favorite subjects yesterday, and I'm sure you can guess what it is... Cats!! I could easily become a crazy cat lady if I let myself go. Maybe when I'm old and crazy I can finally fulfill my destiny. :)

   This is another in what I have dubbed the Recreate Sarah's Etsy Designs On Fingers Project, or RSEDFP. Like anyone would remember RSEDFP. :D You can find the original design here in my store.


   Aren't they cute? They look a little mischievous, I think. And I thought it only right to use my cat coat hook as my nail prop this time. :) The original idea came from a couple different pins, I think. I blogged about it several months ago when I made the Etsy set, and I think the inspiration was listed there.
   When I made these I used a bunch of different colors. I'm going to pull the lazy card and not list them all. If  you want to know what they were though, just ask me and I'll be glad to dig them out and tell you!


   Pardon the poor execution of this hand... It was painted by my left hand, as I'm sure you could guess. It turned out better than I thought though - I haven't made my left hand paint anything too crazy in several weeks. It's really not that bad, but the fat outlines just bother me to no end. I can't help it!
   These kitties are pretty easy to make. You just make a slightly pudgy stick with pointy ears, then you outline it (I used my handy dandy striper, like always). Next I sponge/dot on their bellies or faces, depending on what the cat is wanting (and yes, they do demand certain things!). Then I paint their faces - eyes first with a dotter, then the whiskers, nose, and mouth. You can paint their faces on first if you like, it really doesn't matter.

   In other news, I've been a busy crafter this week! I've made a sleeve for my laptop (it's all but done, I just need to attach the velcro!), a coin purse (which needs some help...), an infinity scarf, and a blanket for my friend! Just because I can, I'm going to show them off to you guys.

   Here's the laptop sleeve. It's predictably made with a cat fabric. And, of course, the buttons had to be little fishies!


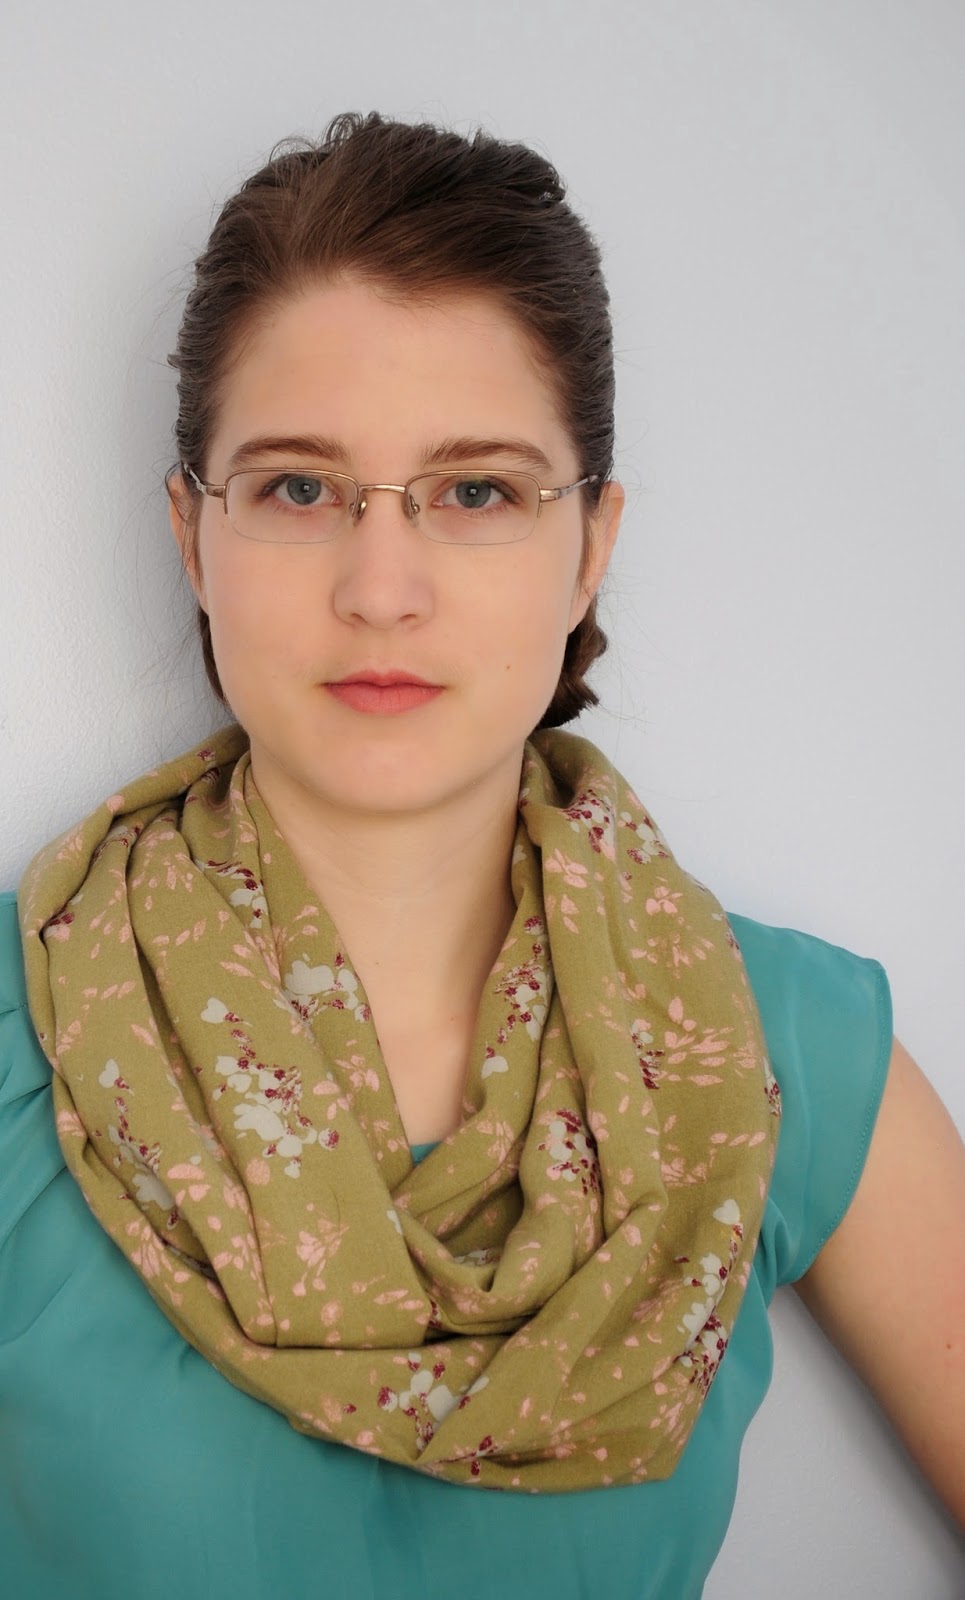
   The scarf. I'm pretty proud of it. It's cute and I'm actually being trendy for once! (This will probably never happen again.)


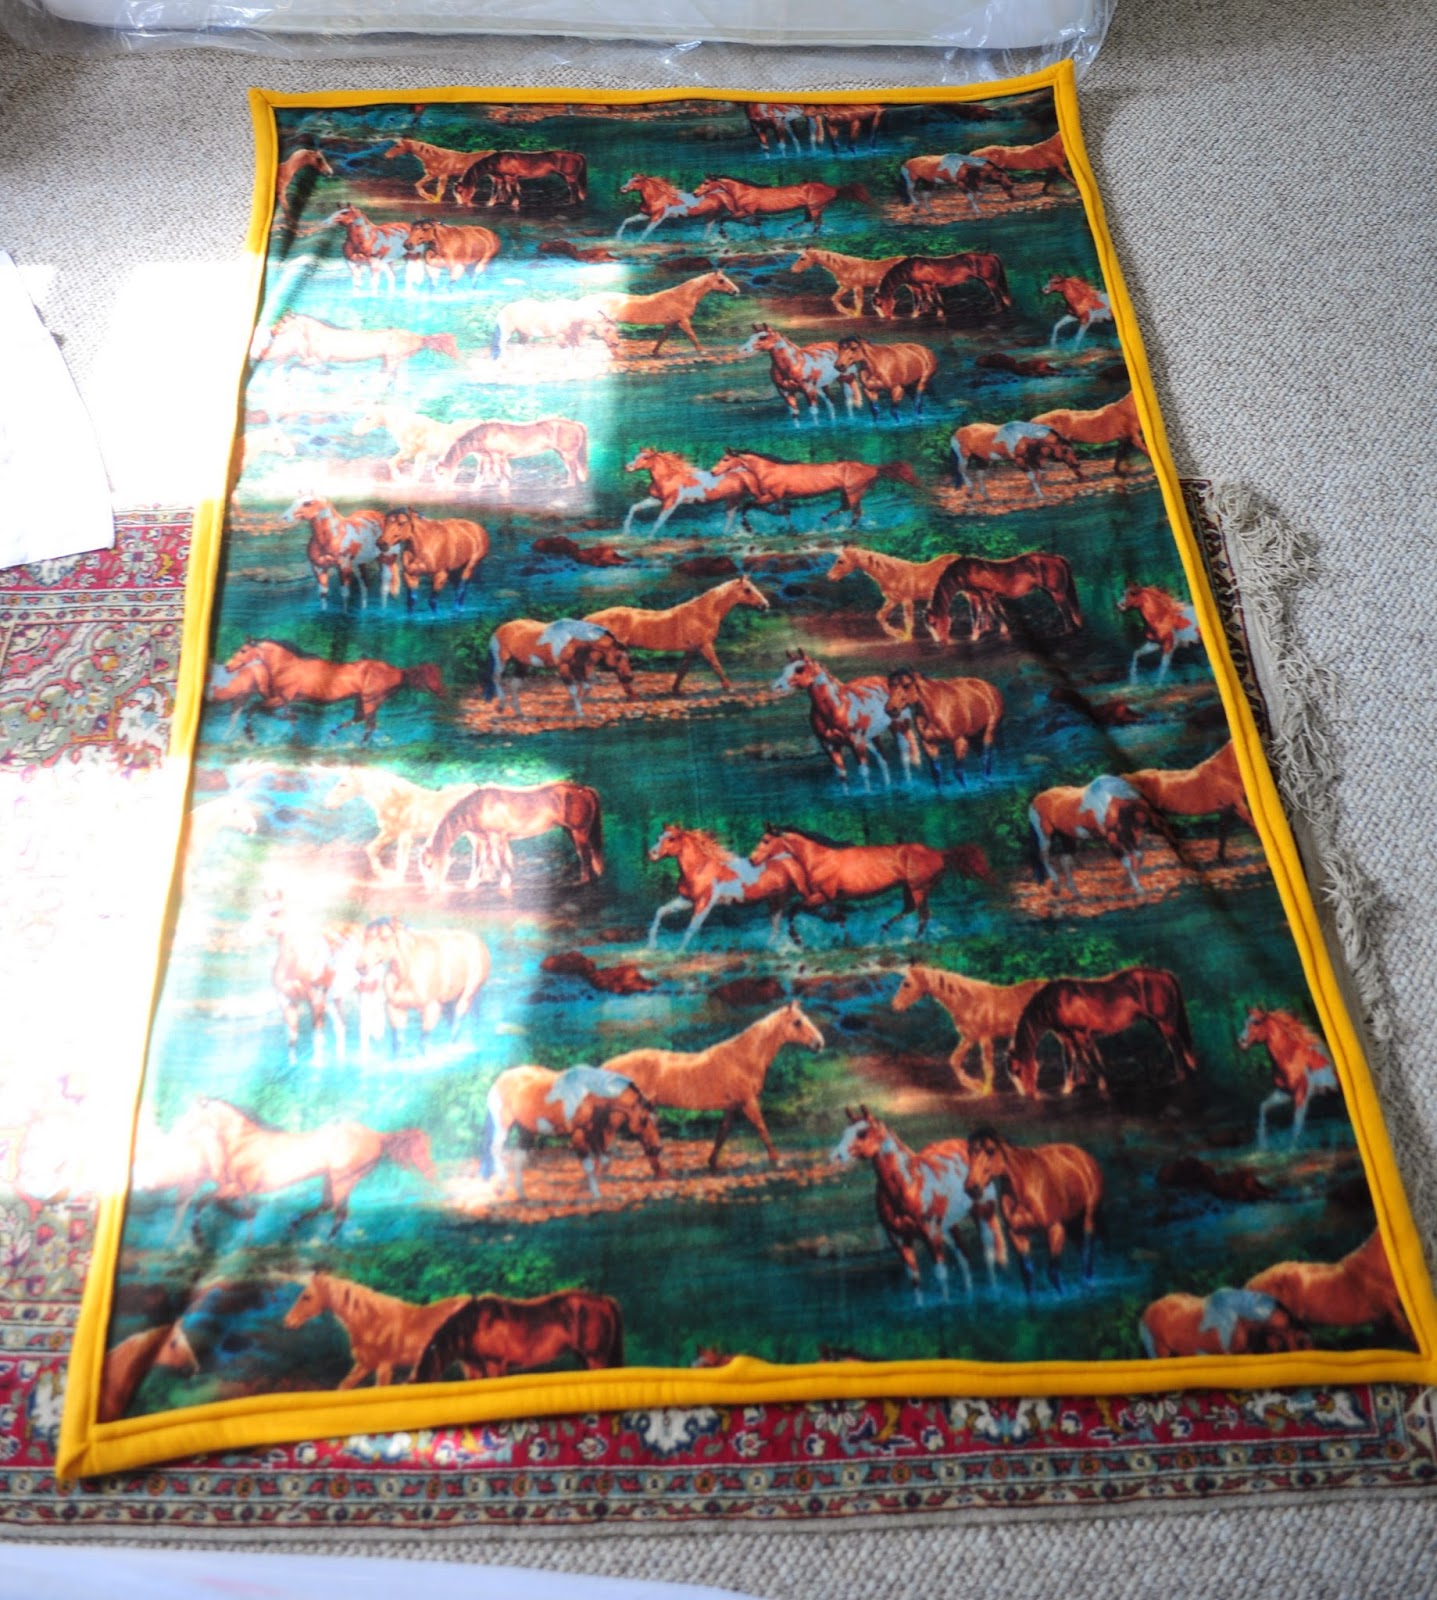
   And the blanket. I made one for myself several months ago (I got it super cheap! $15 for 2.5 yards of 2 fleeces - everything was on sale and I had my employee discount on top of it). My friend loves horses so I promised to make her a horse blanket like mine. I finally found some good horse fleece last week! Her's was pretty cheap too, although not as good a deal as mine - her's was $27.


   My blanket is.... cat fleece! I bet you guessed! I have this theme going on in this post it seems....


   Unfortunately I don't have a picture of the coin purse yet. It has some problems... I might or might not have made it a little bit too small for the sew-in latch...

   That's all my news for now! I have some more earrings to show you guys, but I keep forgetting to blog about them... I'll get around to it eventually!

   Hope you all have a wonderful week!

Sunday, March 23, 2014

Commissions

   I had the privilege of working with a wonderful lady on some custom orders last week! She was tons of fun to work with and found some of the cutest designs! I made 3 sets for her:


   The plaid is a little wonky, but I actually like it that way. It's more pronounced in the picture, but in person it really looks pretty nice. I used Finger Paints Paper Mache for the white and Finger Paints Paint Me Happy for the pink.


   This one was fun to make! It's just your average daisy design, but it looks really nice and sophisticated. I used Sally Hansen Xtreme Wear Black Out for the black. The white was Finger Paints Paper Mache again, and Covergirl Outlast Lemon Drop for yellow.
   To make the daisies I basically made a simple snowflake/star. I painted a vertical stripe, a horizontal stripe (making a plus sign), then I made the two final diagonal stripes (making an x on top of the +). Then I used my dotter to make the center.


   This design is my favorite! Dots and daisies look so cute together! Everything is pretty much the same as the black daisy design, I just used Pure Ice Bikini as the base instead of Black Out. I used the dotter for the dots, as usual.

   I've had an extremely busy weekend this time around; I worked all three days (Friday-Sunday) and we were packed! JoAnn's was running a pretty good coupon so every one had to rush in an buy stuff. All the rude people came Friday, so it ended up being a pretty crappy day. On the plus side, that meant that we didn't have to deal with any other rude people the rest of the weekend, which was nice.
   Luckily, I have the next two days off! It'll be a much needed break. I'm hoping to get a new set or two painted for my Etsy sometime in the next two days. I'm also working on making a blanket for one of my friends and trying to finish up various other unfinished projects (I have so many!), so we'll see if I get more than just my own nails done.

   That's all my news for tonight! I hope you all have a fantastic week!

Wednesday, March 19, 2014

Ombre

   My nails this week are a version of ombre. I can never get the sponging to work right, so I make mine in stripes instead.


   I have this set in my Etsy, in blue, grey, brown and purple. I blogged about the original set quite a few months ago. I was going to paint mine in blue, but I bought some new pinks the other week and I just had to use them!
  This design is super easy to make! You just pick any three colors in the same family (I used Finger Paints Paint Me Happy, Revlon Colorstay Passionate Pink, and Finger Paints Plum Perspective). Put some tape in the middle of your nail and paint the darkest on the bottom and the lightest on the top (or the other way around, it really doesn't matter). Once it's dry, carefully peel off the tape and paint the middle color in the gap. Once everything has dried, get a striper of some sort (I used Stripe Rite) and paint two stripes in between each color. Then seal it all with the top coat of your choice (I used Revlon Top + Base Coat).

   Short post tonight. I don't have too much to say this time. I'll have more news for you later, I've been busy with some custom sets that I'll have to show you guys. Here's a sneak peak (it's a kind of terrible picture, sorry guys!).


   Hope you all have a wonderful week!

Monday, March 10, 2014

Minnie Mouse

   This has been a year for experiments! First I tried out a shop for embroidered cards. Turns out I don't have the card creativity gene. I liked making them, but I'm not good at coming up with phrases, designs and the like, so I've switched to embroidering fabrics instead! After that I started my accent and solid set line, which turned out to be a huge hit! At least half my sales now are solids, which I think is crazy! But, hey, they're paying me money, so I can't complain!
  This weekend I've been working on a new experiment - fabric button earrings! I just listed them in my Etsy yesterday. I only have four up for sale right now. I made seven, but I kept two and gave one to a friend. I'll probably put around 4 more up sometime this week or next. Here's what I've made so far:


   You'll definitely have to make the picture bigger! Silly me thought that this would be a good way to show them all at once. I have the pink, orange, blue, and brown set in my store right now. You can find them here.

  In other news, here's my newest manicure! It's Minnie Mouse, which everyone who's seen it has noticed almost immediately. ...Everyone, that is, except my mom. Which is funny, because for a while (before I was born) we lived pretty close to Disney World and they'd take my brother there pretty often!


   I used Sally Hansen Xtreme Wear Cherry Red as the base and white acrylic paint for the dots. For Minnie Mouse I used a black striper (I put the paint onto a plate and applied it with a dotter - I have no black acrylic paint and the striper's texture is easier to use than the regular polish). Then I used Cherry Red and the acrylic paint for the bow and outlined it with the striper.
   I think I might play around with making the ears slightly bigger and more noticeable when I make this set for my Etsy on fake nails.

  That's about it for this now! I'm hoping to have the Minnie Mouse set and maybe one more to put on Etsy, but I had a lot of orders this weekend so we'll see if I have time.
   Have a wonderful week guys!

Tuesday, March 4, 2014

Snow White and Rose Red

   I just got another of Andrew Lang's Fairy Books in the mail today, the Yellow Fairy Book, so I just couldn't resist the fairy tale title for my post. And it does apply to my nail art! (For those of you who don't know the tale, it is about two sisters, a dwarf, and a bear. You can read it here.)

   My design for you this week is a red rose. Another one from my Etsy store. I mentioned a few posts back (edit: I apparently never wrote this anywhere... I'm going crazy!) that I'm trying to get all of my Etsy sets painted onto my fingers so that I can have that as another point of reference for my customers. I want to use these pictures as my main item picture instead of the fake nail pictures that I have up now; I think it will be nicer. We'll see! Either way, you'll be seeing pretty much everything in my store for the next several weeks (I have probably 30 or more left to do!).


   This is an accent set in my store (you can find it here). I blogged about the fake nail set quite a few months ago. As I mentioned then, this is inspired by this pin on Pinterest. Also, her roses are still way better than mine. They're a lot more difficult to make than you would think!


   I made the french manicure with Finger Paints Paper Mache and NYC Expert Last Carrie'd Away. For the red rose I used red acrylic paint, with brown for the shadows. The yellow rose was made with Sally Hansen Complete Salon Manicure Butterscotch and the brown acrylic paint again for shadows. The leaves were made with a mix of Loreal New Money and Finger Paints Sketch N Etch (I used New Money as the base, and streaked the Sketch N Etch on top). The small white flowers were made with white acrylic paint and brown acrylic paint for the center.


   That's about all I have for now. If you want to purchase this set, you can get the rose accent here, and the french manicure here.
   I hope you all have a lovely week!